What is needed to build a terrace irrigation system? And the irrigation system in the garden?
In one of the next articles, we will also talk about how to design and build an irrigation system for the garden, but we have decided to start explaining the one for the terrace because it is simpler and because you can really do it yourself.
How and why to put the irrigation system in the garden or on the terrace?
The irrigation system is put in place because in this way we save a lot of water, we save remembering to water and we can go on vacation being sure that our plants will be ok when we return.
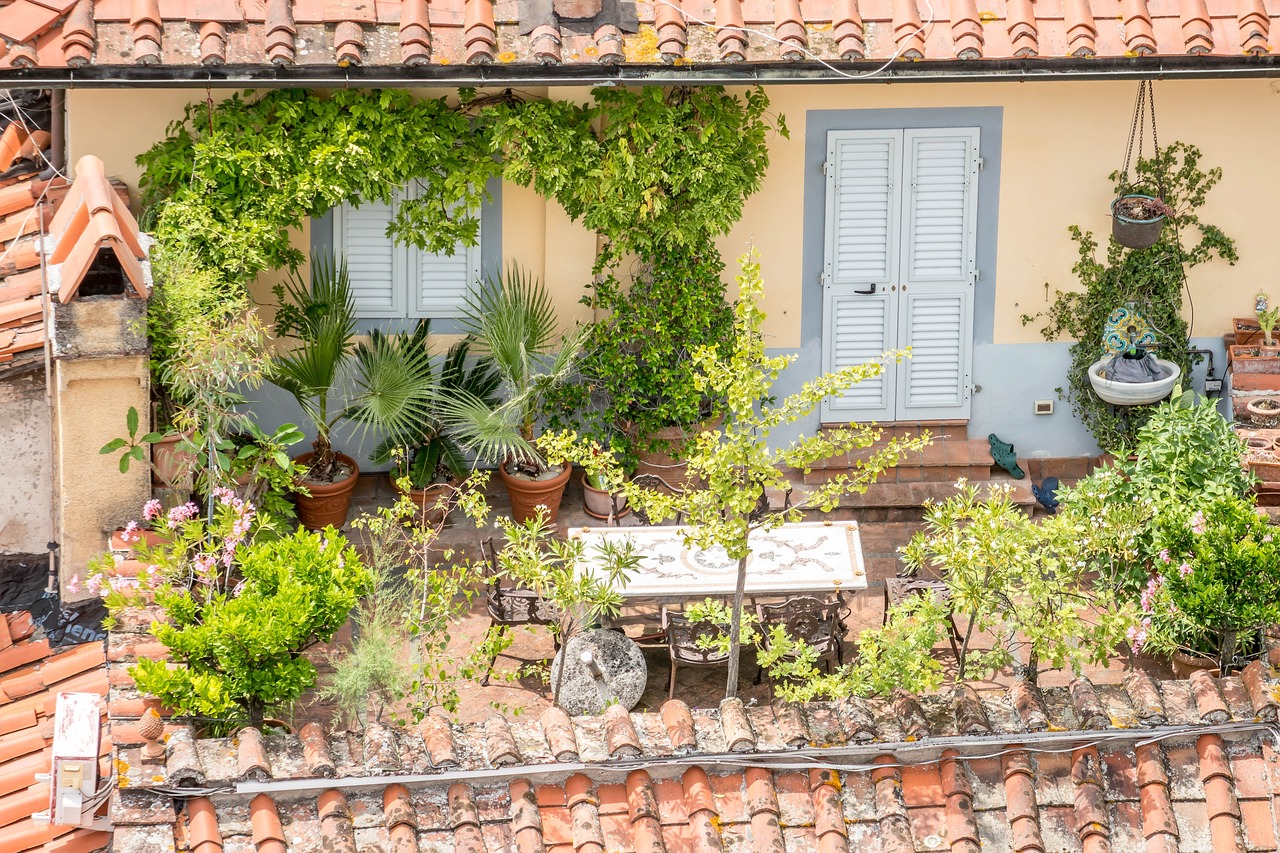
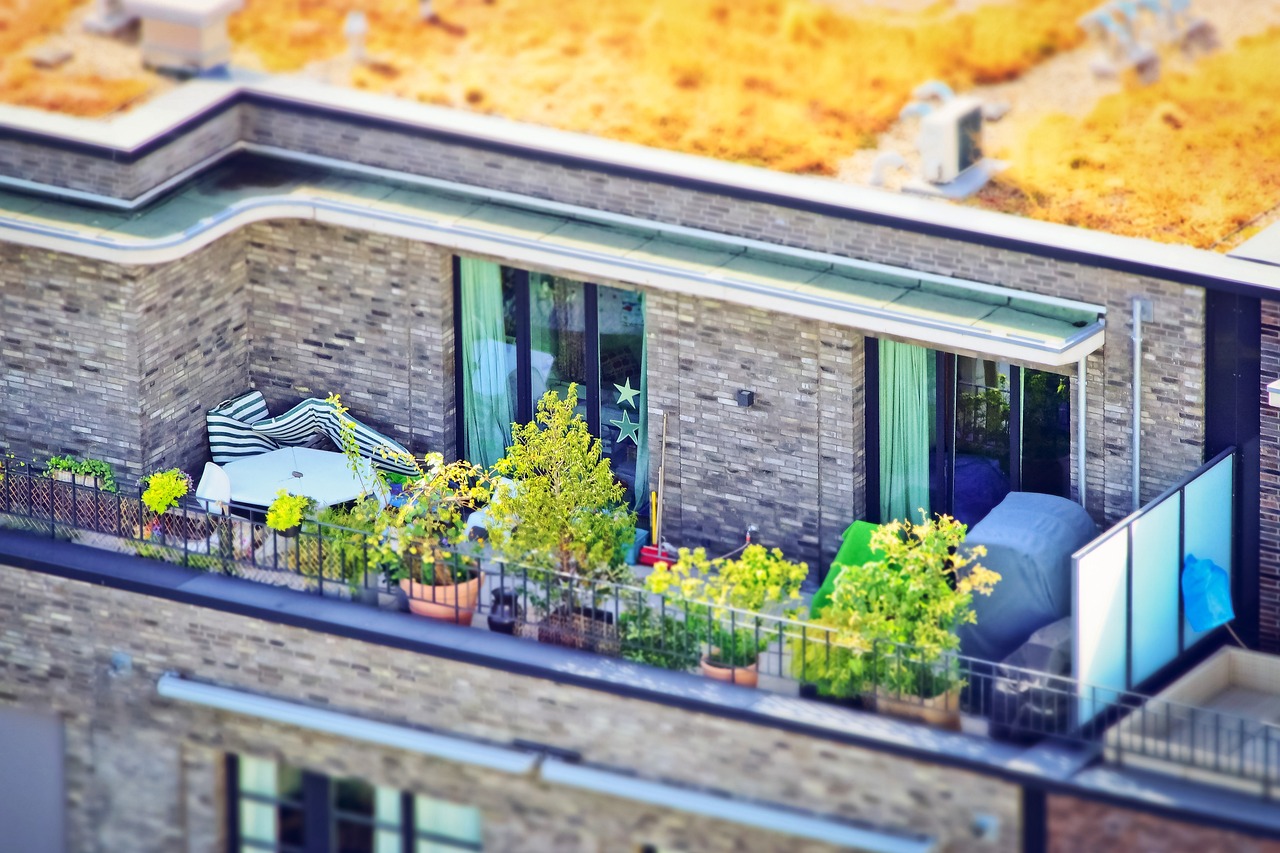
But is it also good for the balcony? Of course, by terrace we mean all the paved outdoor areas.
If you have several balconies with many plants you will have to put a tap and a separate system in each one, but even here there could be exceptions: if the balconies are different but you can run the collector pipe from one balcony to another you could make a single system .
Building a terrace irrigation system in 8 steps
Designing a terrace irrigation system step 1: Where do I put the tap?
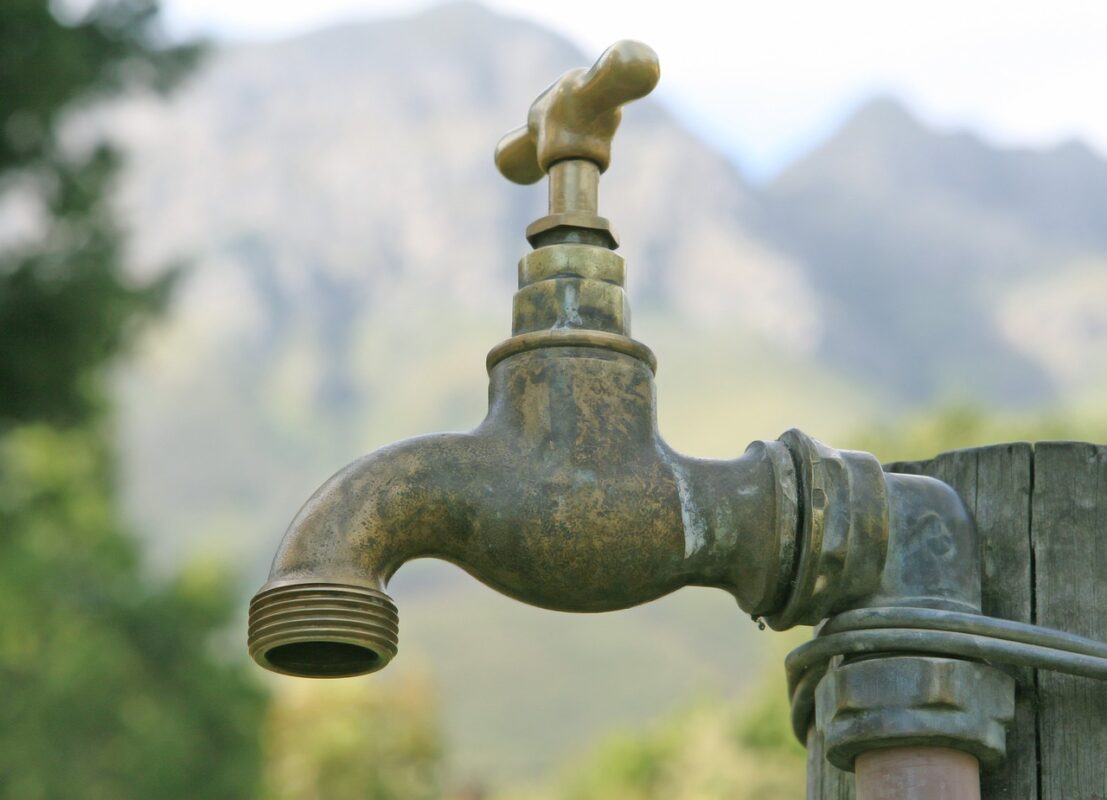
First of all we need an outdoor faucet. If it doesn’t already exist, you must have it installed, unless you are a plumber. Often the position of the tap is forced. It would be nice if it were in a secluded corner and not at the mercy of events, but it’s not essential. This is to prevent the water in the tap from freezing and the control unit to stay dry. Alternatively, the tap can be wrapped in protective materials and the control unit is designed to stand in the rain so don’t worry.
Designing a terrace irrigation system step 2: What is the rain sensor?
The rain sensor is important especially if you have another apartment underneath. Instead, this element should be positioned at the mercy of the elements, perhaps tied to a vase or on the railing and under water and when it rains it tells the control unit not to start. Don’t skimp on this economically because otherwise it works badly, it doesn’t do its job, you will have spent money unnecessarily and the inhabitants of the balconies below will complain.
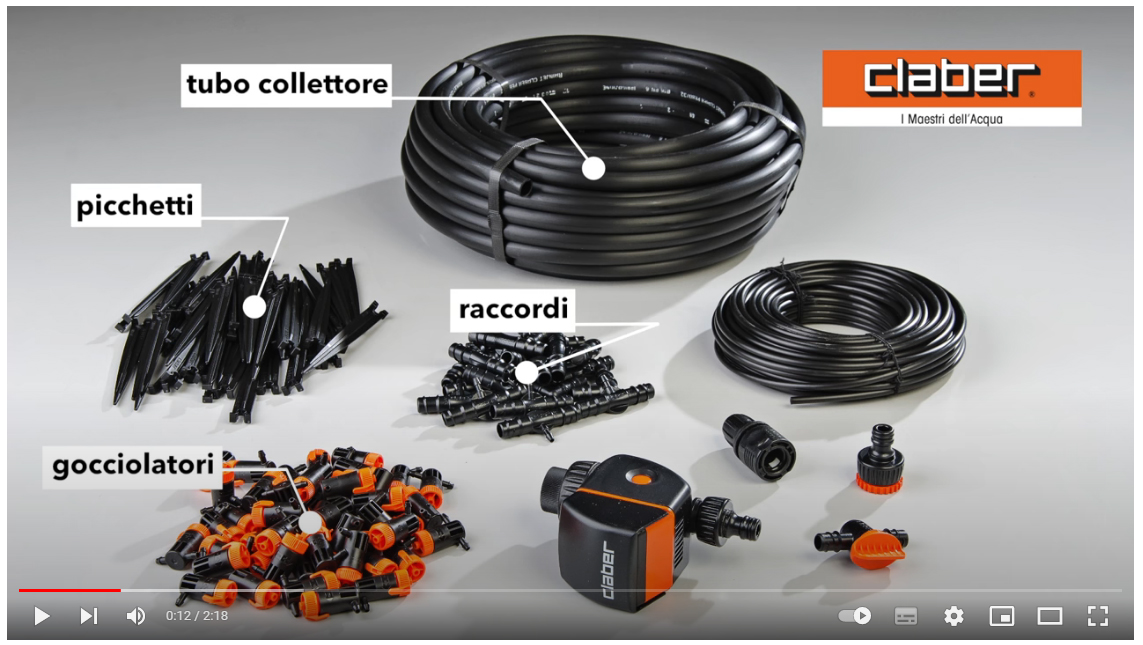
There are well-known brands on the market that sell the complete kit: that’s fine. Below we will see how to make sure that the kit meets our needs.
 Designing an irrigation system for terraces step 3: The Controller
The control unit must be hooked up to the tap. The control unit is used to organize the times and methods of irrigation. It’s necessary.
You could also look for it used: many people sell items that they no longer use or because they have upgraded to a higher model.
BETTER USED OF GOOD BRAND THAN NEW FIRST PRICE.
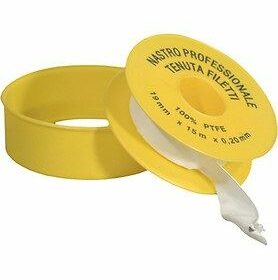
Before screwing the control unit we recommend using Teflon tape for the thread (instead of the old “angel hair” of the plumbers) to insulate from the water.
Designing a terrace irrigation system step 4: Let’s focus on the terrace
Where are the plants? Usually around the perimeter, but we could also have plants in the middle if it’s large.
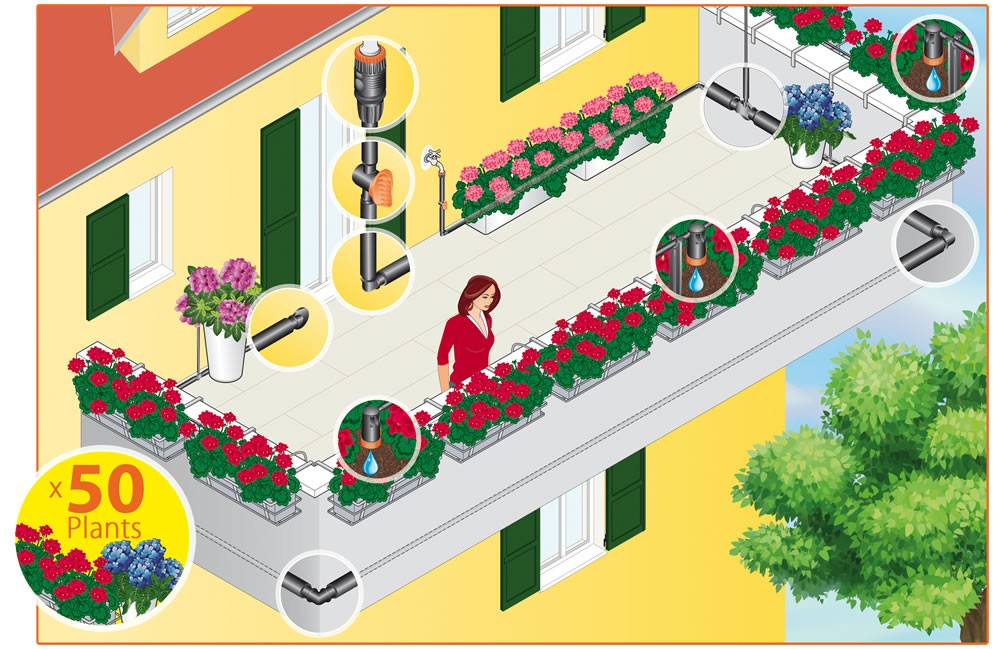
We measure the perimeter of the terrace starting from the tap and going around. Clearly we have to get to where there are plants. We thus obtain the meters of pipe that we need to buy.
The pipes will be of two sizes: the one that from the control unit carries the water around the terrace or manifold pipe (13-16 mm – 1/2 inch) and the one that from the large pipe leads to the vases or capillary pipe (4- 6 mm – 1/4 inch).
Designing an irrigation system for the terrace step 5: Beware of doors!
Some considerations for calculating the meters of pipe to purchase.
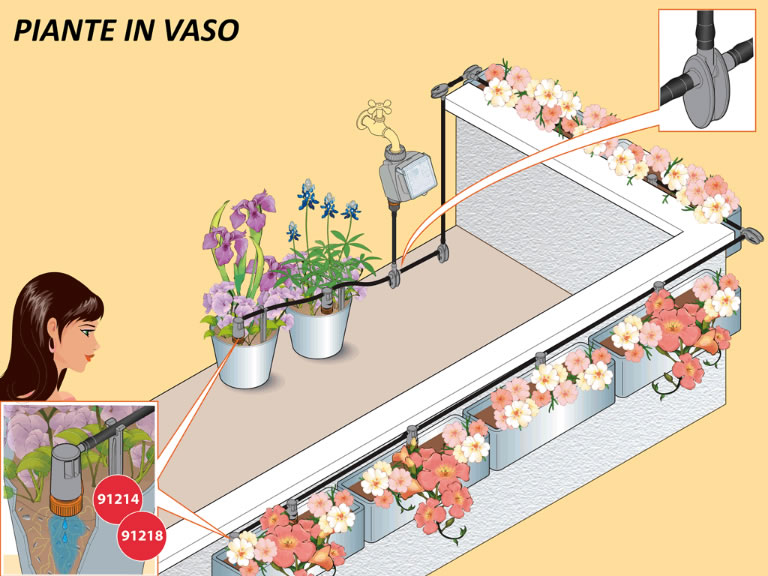
Observe your terrace and decide where you will run the header pipe. If you have a masonry parapet you can fix it with cable clamps screwed to the wall at the base or under the edge, if you have a railing you can run up or down by fixing the pipe with electrician’s clamps. What is certain is that the lower you are, the longer the capillary tubes will be to use. However, make sure that the tube is as inconspicuous as possible. If necessary, color the pipe and cable clamps to match the color of the wall.
If you have to go under some French doors you will necessarily have to go under them. Then if necessary you will come back up. For these changes of direction (vertical or horizontal) you will use fillets.
Designing an irrigation system for terraces step 6: Fittings
Fittings should also be counted to make sure there are enough in the kit. The fittings can be angled (to pass from a vertical to a horizontal pipe and vice versa), linear (to add a previously excluded area – they are rarely used), three-way (if you have vases in the middle of the terrace) and closed ( at the end of the tube if you haven’t made a loop).
Most likely the tap will have been positioned comfortable to use, therefore at a height of about 1.2 meters from the ground. So remember to count that piece too.
At this point we have the control unit, the measurement of the header pipes and fittings.
Designing an irrigation system for terraces step 7: The capillary tube, how much is needed?
Let’s move on to counting the meters of capillary tube. Now that you have decided where the header pipe passes, you know the distance from it for each pot.
The next thing to decide is how many sprinklers go per pot. Basically, if it is a pot with a single plant, only one sprinkler goes. If it is a small balcony with two or three plants, two sprinklers will work.
Count the plants and multiply them by the distance from the main tube, stay wide and you will have the quantity of capillary tube to buy.
Designing an irrigation system for terraces step 8: Sprinklers
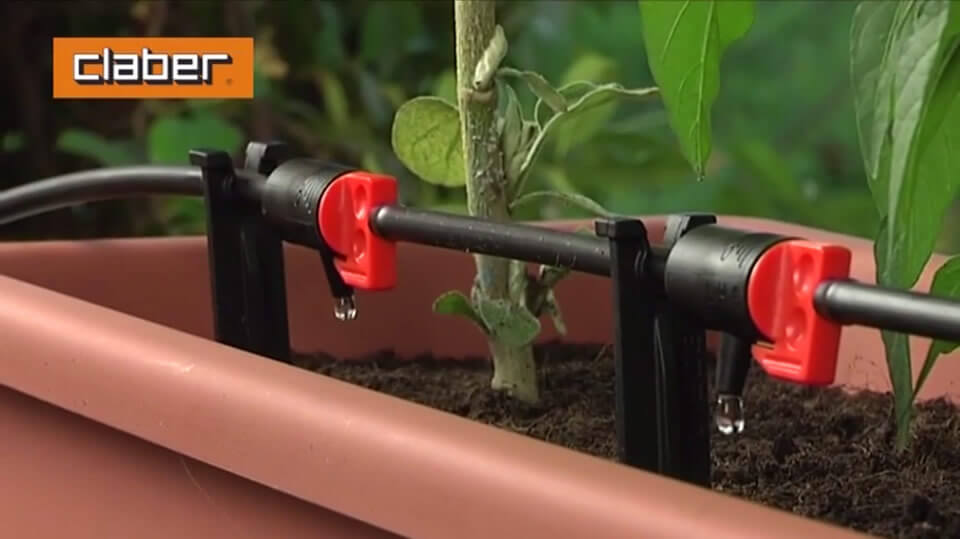
Sprinklers tend to be of two types: drip and adjustable. When dripping, you have to keep them open more and they reach shorter distances, but you are more relaxed about overflowing. The adjustable ones throw out more water so even one minute is enough and they reach a greater distance, but they risk causing the water to overflow from under the vase if they are not set perfectly.
Then, according to the above rules, count the sprinklers you need and you will also have this data.
An insertion nipple is required for each capillary tube leaving the main tube. If the pot has two sprinklers, a T or three-way fitting is needed.
Clearly the capillary tube has its fittings which are different from those for the main tube (they are smaller).
How much does it cost to build an irrigation system?
The cost of a kit is around 60 euros and will cover all or almost all the material you need. With the tap and everything you could spend around 100 euros.
the garden world advice
Beware of dead or unhealthy plants: they drink little or nothing, so the sprinkler must be closed or adjusted accordingly.
Now that you have all the quantities you can evaluate if a kit contains what you need. In case you know you have to add something. The suggestion of mondodelgiardino.com in this case is to take everything from the same brand.
Now on horseback! Work awaits us! Our new wonderful outdoor space is about to be born!
GOOD WORK and…if you have any questions or want to send photos of your finished work, write to info@ilmondodelgiardino.com
Sources of images: thanks to Pixabay: for the cloister of the monastery Albrecht Fietz, the table among the roses Doris Jungo, the cast iron tap Robert Owen-Wahl, for the balcony in Lucca Oliver Lechner, for the terrace seen from the inside StockSnap, for the balcony seen from above Michael Gaida
For the drawings of the balconies in isometric bestprato.com; for displaying what to buy and drip sprinklers Claber; for the Teflon Tape puntoirrigazione.it; for the system drawing-diagram faidateingiardino.com.


